Starting a sourdough starter is like nurturing a tiny kitchen pet—it requires just a bit of flour, water, and patience. Think of it as a science experiment meets culinary art, where every day you witness the magic of fermentation unfold. I remember my first attempt; it felt like waiting for a new album drop—exciting, a little uncertain, but ultimately so rewarding.
Cookbook Inspiration
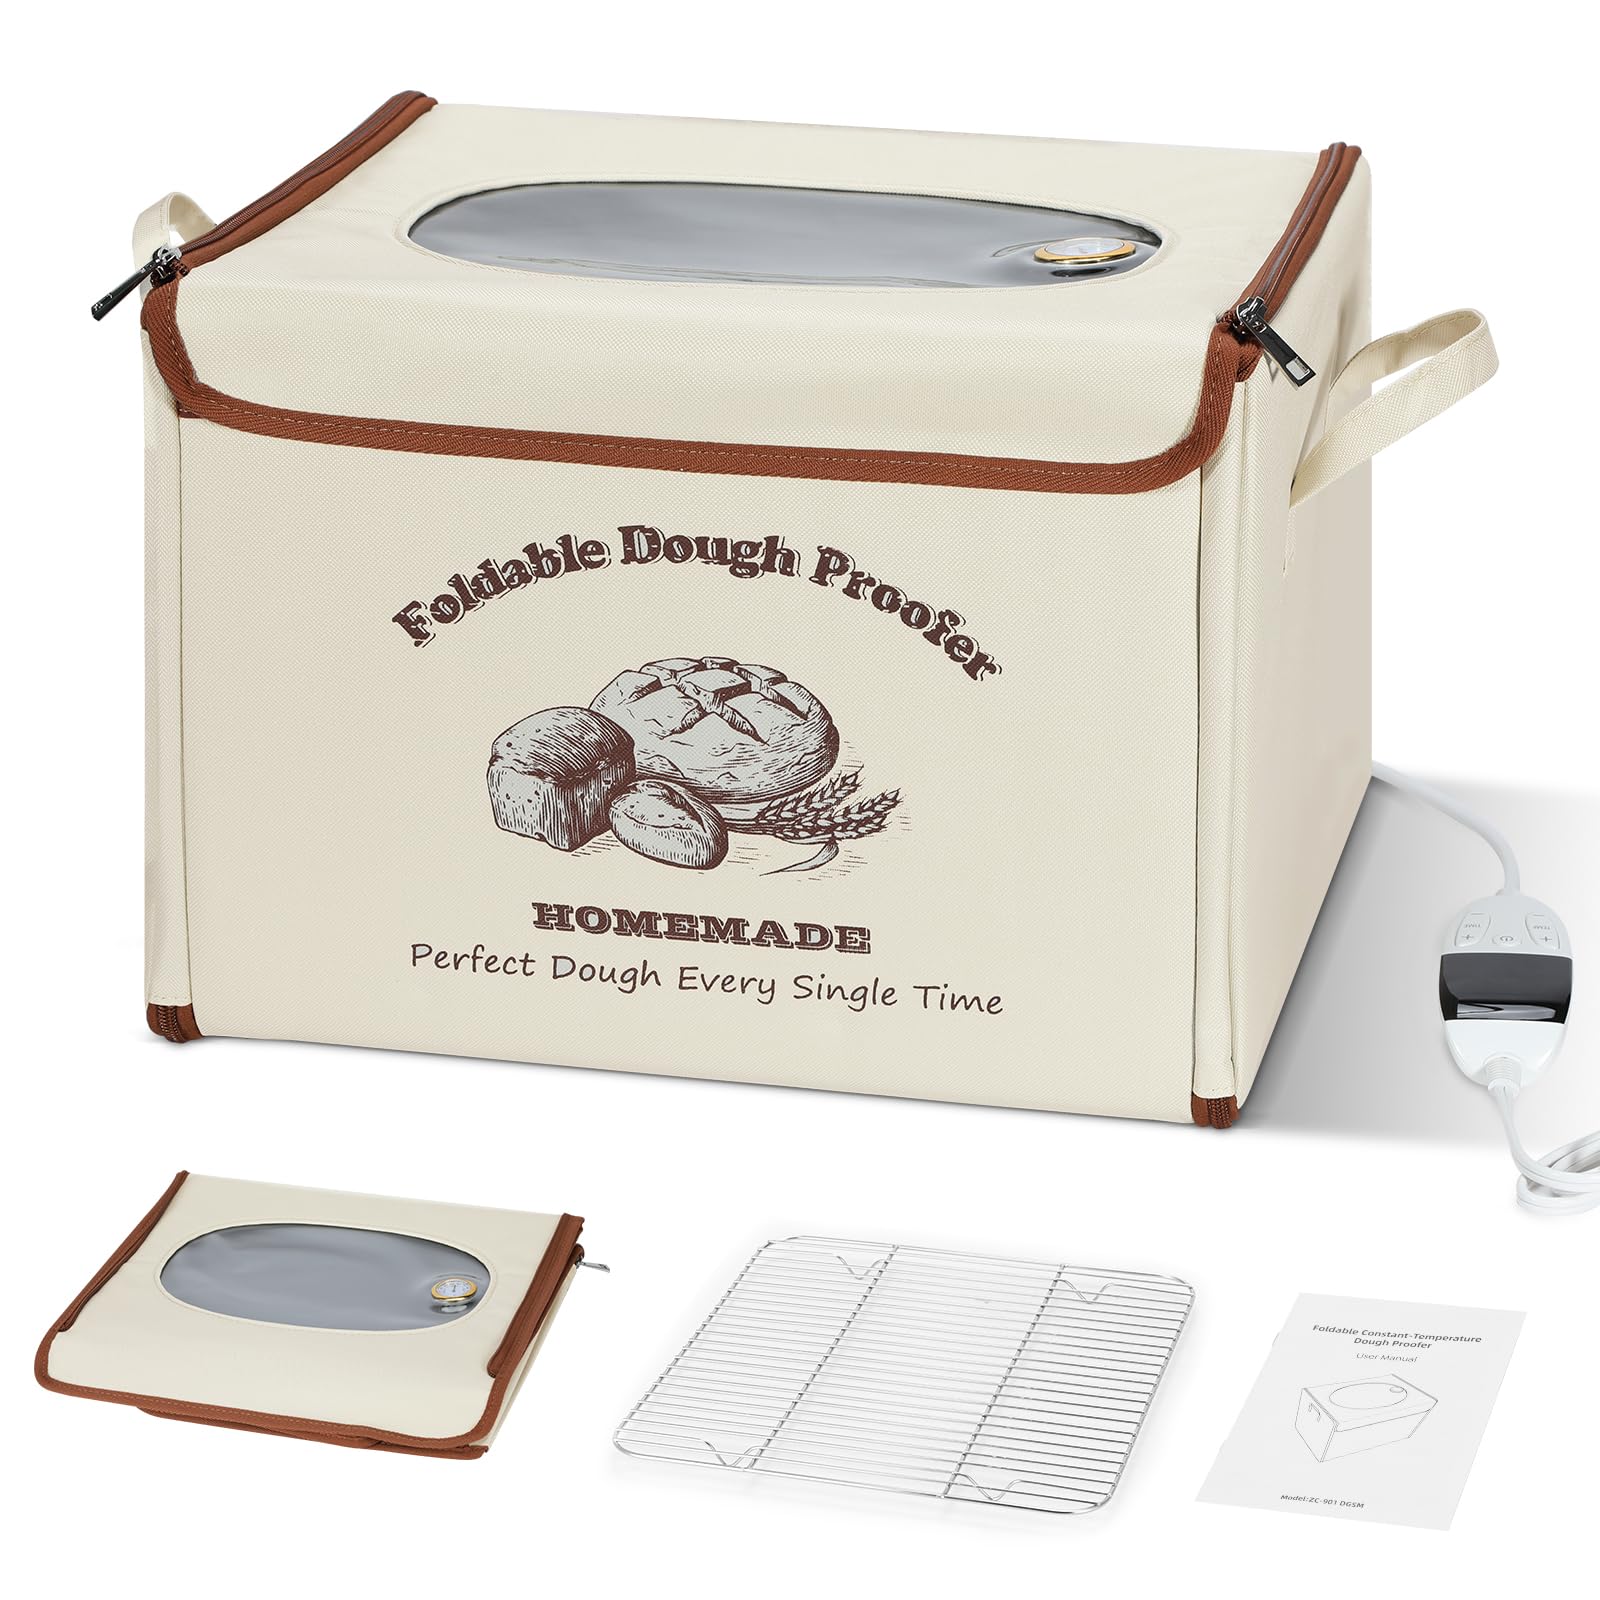
Here is the essential equipment you'll need to successfully start your own sourdough starter at home.

Steps
- Day 1: Begin the Starter
- Combine 60 g of whole wheat flour with 60 g of warm water in a jar. Stir until the mixture is smooth and thick. Cover, and let it sit in a warm spot around 70-75°F for a full day.
- Day 2: Check for Bubbles
- Look for bubbles on the surface, which indicate fermentation. If none are visible, they might have dissolved overnight. Stir the mixture once or twice, then let it rest in the same warm spot for another day.
- Day 3: Start Feeding
- Discard half of the starter and add 60 g of all-purpose flour and 60 g of water to the remaining mixture. Mix until smooth, cover, and let it rest in the warm area for 24 hours.
- Day 4: Continue Feeding
- Again, discard half of the starter and replenish with 60 g of all-purpose flour and 60 g of water. Stir well, cover, and leave it in a warm location for another day.
- Day 5: Maintain the Routine
- Repeat the process by discarding half and adding 60 g of flour and 60 g of water. Mix thoroughly and let it rest covered for 24 hours in a warm environment.
- Day 6: Consistency is Key
- Remove half of the starter, then add 60 g of flour and 60 g of water. Mix well, cover, and allow it to sit in the warm spot for another full day.
- Day 7: Final Day of Feeding
- Discard half and add the usual 60 g of flour and 60 g of water. After mixing, cover and let it rest. By now, the starter should be active, bubbly, and ready to use.
- Day 8: Check for Activation
- Ensure the starter has doubled in size with a spongy texture and pleasant smell. If not quite ready, extend feeding for a few more days. Transfer to a clean jar if needed and name your starter for tradition.

Ingredients
- Whole wheat flour: 60 g (1/2 cup)
- All-purpose flour or bread flour: Approximately 1x (5 lb) bag for ongoing feedings
- Water: 60 g (1/4 cup) for initial mix, additional water as needed for ongoing feedings
- Optionally, warm water around 85 F for better fermentation results
FAQ
- How long does it take to create a sourdough starter from scratch?
- The process typically takes about 7 days, but it can extend to two weeks or more for the starter to become fully active. Patience is key, as the growth can be unpredictable.
- Can I make a sourdough starter with different types of flour?
- Yes, you can use all-purpose, bread, whole wheat, spelt, or rye flour. Note that whole grains and bread flour absorb more water, so you might need to adjust the texture with additional water.
- Why does the growth of my starter slow down on Days 3 and 4?
- The initial use of whole wheat flour helps kickstart fermentation. The switch to all-purpose or bread flour may slow growth as the starter adjusts. This is a normal part of the process.
- What is the brown liquid on my sourdough starter, and should I be concerned?
- The brown liquid, known as “hooch,” indicates that your starter is hungry. It’s normal and has a strong smell similar to rubbing alcohol. Pour it off before feeding your starter with fresh flour and water.
- How should I store my sourdough starter once it is active?
- If you bake frequently, keep your starter at room temperature and feed it once or twice a day. For infrequent baking, store it in the fridge and feed it once a week to maintain its strength.
Tips
- Temperature Control: Maintaining a warm environment of about 70-75°F is crucial for your starter to thrive. You can place your starter in a turned-off oven with the light on for a couple of hours or use a proofing box to help achieve the ideal temperature.
- Monitor and Remove Hooch: If you notice a dark liquid forming on top of your starter, don’t worry—it’s called “hooch” and indicates that your starter needs feeding. Pour off this liquid before feeding to keep your starter healthy.
- Patience is Key: The process can take 7 days or longer. It’s common for activity to slow down around Days 3-4 when switching to all-purpose or bread flour for feedings. Be patient and give your starter time to adjust.
- Consistent Feeding Schedule: Establish a routine by feeding your starter at the same time each day. This consistency will help your starter become active and bubbly, ready for baking.
Equipment