Baking bread at home—it’s like embracing a warm hug from the oven, isn’t it? This easy hearth bread recipe, a delightful blend of simplicity and satisfaction, lets you create that comforting aroma that fills the room, much like a cozy sweater on a chilly day. I remember the last time I baked this; the smell lingered for hours, as if time stood still, and all worries were kneaded away.
Steps
- Combine all ingredients, initially using the lesser amount of flour. Stir until the dough detaches from the bowl sides, adding more flour if needed. Transfer the dough to a floured surface for kneading.
- For hand kneading, fold the dough’s far edge towards you, pressing down with your palms. Push away, rotate the dough 90°, and repeat for 5 minutes, adding flour to prevent sticking. Allow the dough to rest while preparing the mixing bowl, then knead for another 2 to 3 minutes.
- If using a stand mixer, combine the ingredients with the dough hook, reducing water to 1 3/4 cups. Knead on low-medium speed for about 10 minutes until smooth, ensuring it slightly adheres to the bowl.
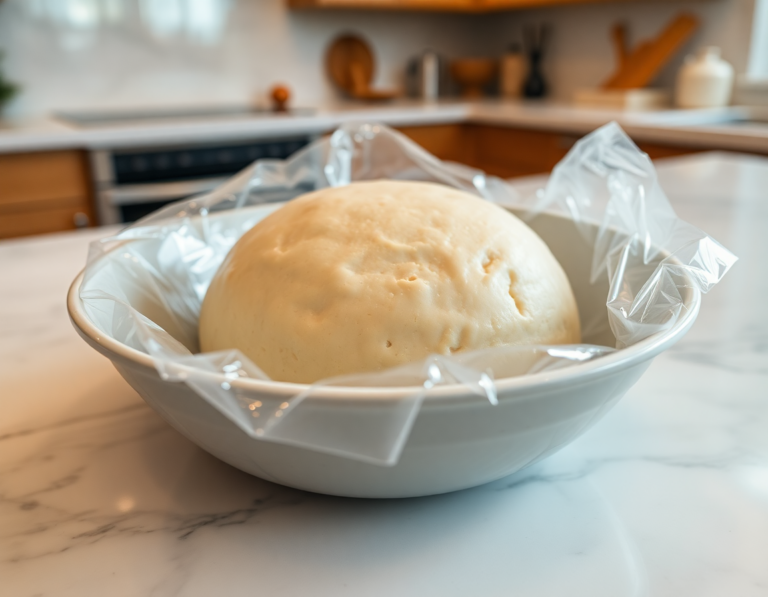
- Place the dough in a lightly greased bowl, cover with plastic wrap, and let it rise in a warm, draft-free area until it doubles in size, about 1 to 2 hours.
- Gently deflate the dough, divide it into two portions, and shape into oval or elongated loaves. Position them on a parchment-lined baking sheet dusted with cornmeal or semolina for added crunch.
- Allow the loaves to rise under greased plastic wrap for 45 minutes until puffy. Preheat the oven to 425°F towards the end of the rising time.
- Before baking, moisten the loaves with lukewarm water to keep the crust soft. Make diagonal slashes on the tops and place the baking sheet on the oven’s middle rack.
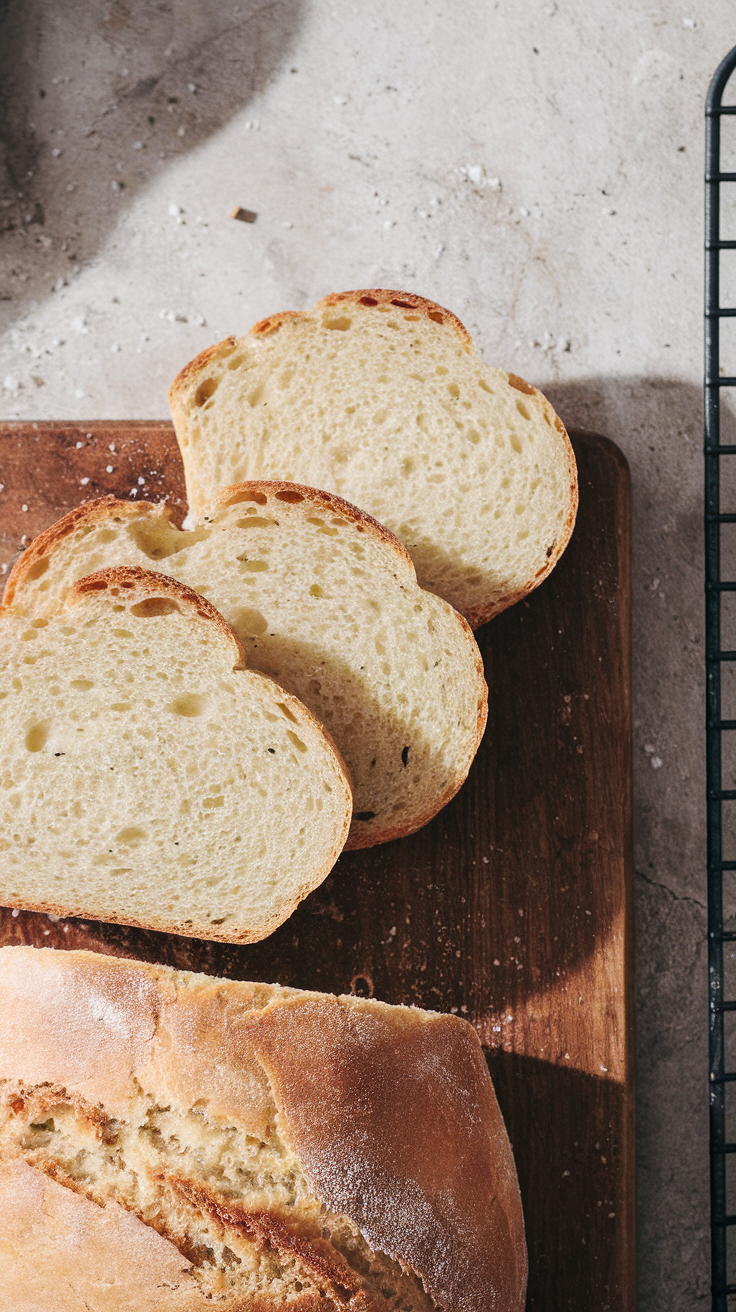
- Bake for 35 to 40 minutes until the crust is golden and sounds hollow. The internal temperature should reach at least 200°F.
- Remove the loaves from the oven and pan, then place them directly on the rack. Turn off the oven, crack the door, and let the loaves cool inside for extra crispiness.
- Once cooled, store the bread in a paper bag at room temperature for a few days, or wrap and freeze for longer storage.
Ingredients
- 1 tablespoon sugar
- 1 tablespoon salt
- 1 tablespoon active dry yeast or instant yeast
- 2 cups lukewarm water (or 1 3/4 cups if using a stand mixer)
- 5 to 6 cups all-purpose flour
- Cornmeal or semolina for dusting (optional)
FAQ
- Can I knead the dough using a stand mixer instead of by hand?
- Yes, you can use a stand mixer with a dough hook to knead the dough. Reduce the water to 1 3/4 cups since you won’t need extra flour for a kneading surface. Knead on low-medium speed for around 10 minutes until the dough is smooth and slightly sticky.
- How should I store the finished bread?
- Once the bread has cooled completely, you can store it in a paper bag at room temperature for a few days. For longer storage, wrap the bread well and freeze it.
- Can I use a bread machine to mix and knead the dough?
- Absolutely. Place all ingredients into your machine’s bucket, set it to the dough cycle, and let the machine finish its cycle. Then, shape, let rise, and bake as the recipe instructs.
- Why were the original cold oven instructions removed from the recipe?
- The cold oven instructions were removed because not all ovens preheat the same way, which could result in burnt bread. However, if you have been successfully using the cold oven method, you may continue to do so by following the provided steps starting from slashing the risen loaves.
Tips
- Adjust Flour as Needed: Start mixing the dough with the smaller amount of flour specified in the recipe. Only add more flour if necessary to ensure the dough pulls away from the sides of the bowl during mixing.
- Kneading Techniques: If kneading by hand, use a rhythmic, rocking motion and turn the dough 90° after each push. This helps develop the gluten structure. When using a stand mixer, reduce the water slightly since you won’t be dusting a surface with flour.
- Enhance Crust with Water: Before baking, generously brush or spray the loaves with lukewarm water. This keeps the crust pliable, allowing for better rise and texture.
- Cool for Extra Crispiness: After baking, remove the loaves from the pan and let them cool directly on the oven rack with the oven turned off and the door cracked open. This method helps achieve an extra-crusty exterior.
Equipment
- Stand Mixer with Dough Hook Attachment
- Digital Kitchen Thermometer
- Baking Sheet
- Parchment Paper
- Plastic Wrap
- Bread Lame or Sharp Blade for Slashing the Dough