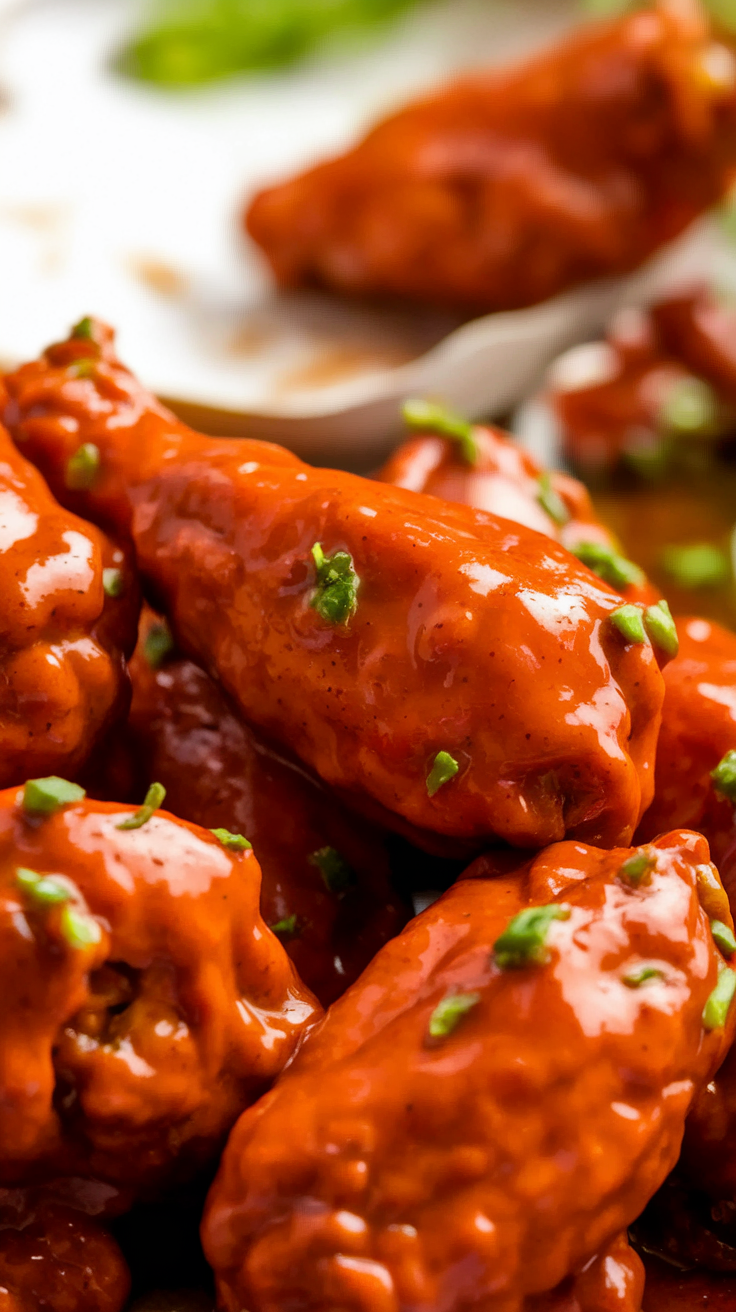
Buffalo wings in an air fryer? Oh, it’s like a crispy dream come true! I mean, who knew you could achieve that perfect balance of juicy and crunchy with just a blast of hot air?
Honestly, it’s the kind of kitchen magic that makes you wonder why you ever did it any other way, right? ?? ??? ??? ???, ???? ?? ?????.
Cookbook Inspiration
Here’s a list of essential equipment you’ll need to make the best air fryer buffalo wings at home.

Steps
- If possible, dry the chicken wings overnight by placing them on a rack over a rimmed baking tray in the fridge. If not, pat them dry with paper towels before starting.
- Preheat your oven to 250°F (120°C) and arrange one shelf in the lower quarter and another in the top quarter of the oven. Line a baking tray with foil, place a rack on the tray, and spray it with oil.
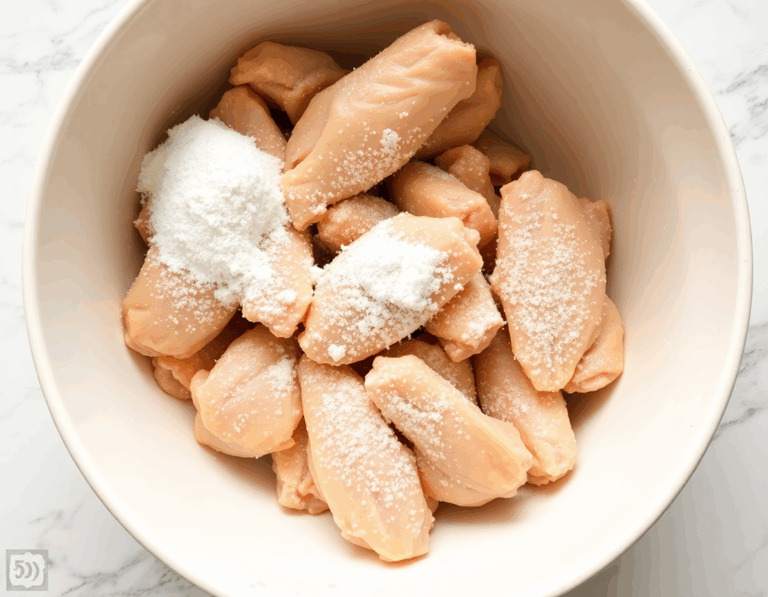
- In a large bowl, toss the wings with baking powder and salt until they are evenly coated, ensuring there are no thick patches of baking powder.
- Place the wings skin side up on the prepared rack, and bake them on the lower oven shelf for 30 minutes at the low temperature.
- Increase the oven temperature to 425°F (220°C) and move the tray to the top shelf. Continue baking for 40 to 50 minutes, rotating the tray halfway through until the wings are crispy and golden brown.
- For the sauce, whisk together melted butter, Frank’s Original Red Hot Sauce, brown sugar, and salt until the sugar dissolves. Keep it warm until ready to use.
- To prepare the blue cheese dip, mash blue cheese with sour cream, then mix in mayonnaise, minced garlic, lemon juice, salt, and pepper, adjusting with milk to achieve desired consistency.
- Once the wings are done, toss them in the Buffalo sauce or serve the sauce on the side. Serve immediately with blue cheese dip and celery sticks for dipping.
Ingredients
- 4 lb / 2 kg chicken wings, wingettes & drumettes
- 5 teaspoons baking powder
- 3/4 teaspoon kosher salt
- 4 tablespoons (60g) unsalted butter, melted
- 1/2 cup Frank’s Original Red Hot Sauce
- 1 tablespoon brown sugar
- 1/4 teaspoon kosher salt
- 1/2 cup crumbled blue cheese, softened
- 1/2 cup sour cream
- 1/4 cup mayonnaise, preferably whole-egg
- 1 small clove garlic, minced
- 1 to 3 tablespoons milk
- 2 tablespoons lemon juice
- 1/2 teaspoon kosher salt
- Black pepper
- Celery sticks
- Lots of beer
Nutritional Values
Calories: 476cal | Carbohydrates: 3.1g | Protein: 63.3g | Fat: 22g | Saturated Fat: 8.1g | Cholesterol: 210mg | Sodium: 1195mg | Potassium: 934mg | Sugar: 1.3g | Vitamin A: 100IU | Calcium: 200mg | Iron: 2.9mg
FAQ
- What is the secret to achieving ultra-crispy baked buffalo wings?
- The secret lies in using baking powder, which helps draw moisture to the surface of the wings, making the skin crispy. Additionally, baking the wings at a low temperature to render the fat, followed by a higher temperature to crisp up the skin, is crucial.
- Can I taste the baking powder on the wings?
- No, you won’t taste the baking powder at all. It’s there solely to help achieve a crispy texture.
- What should I serve with buffalo wings?
- Buffalo wings pair perfectly with a classic blue cheese dip, which can be smooth or lumpy based on your preference. Additionally, fresh celery sticks provide a refreshing crunch that complements the wings.
- How can I ensure the wings remain crispy if made ahead of time?
- The wings will stay crispy for about 20-30 minutes while warm. If you plan to reheat them, do so without the sauce to maintain crispiness. Reheat in the oven until the skin puffs up and becomes crisp again.
- Is it possible to use a different hot sauce if I can’t find Frank’s Original Red Hot Sauce?
- Yes, you can use any hot sauce available. If using a different hot sauce, like sriracha, you may need to add a teaspoon of sugar to balance the flavors.
Tips
- Prepare Ahead for Maximum Crispiness: For extra crispy wings, allow them to dry uncovered on a rack in the fridge overnight. If you’re short on time, pat them dry with paper towels before baking to remove excess moisture.
- Use Baking Powder, Not Baking Soda: Ensure you coat the wings with baking powder, not baking soda. Baking powder draws moisture to the surface, helping to achieve that desired crispy skin. Be sure to toss the wings thoroughly to avoid any clumps.
- Bake in Stages for Best Results: Start by baking the wings at a low temperature to melt the fat under the skin. This step is crucial in achieving crispiness. Then, increase the oven temperature to finish cooking and crisp up the skin.
- Reheat for Crispiness: If you need to reheat the wings, do so before tossing them in the sauce. Place them skin-side up in a preheated oven until the skin becomes crisp again. This ensures they remain crunchy and delicious.
Equipment